 Sarah Lynne Reul
Thesis update: New Monsters
Posted on September 30, 2013
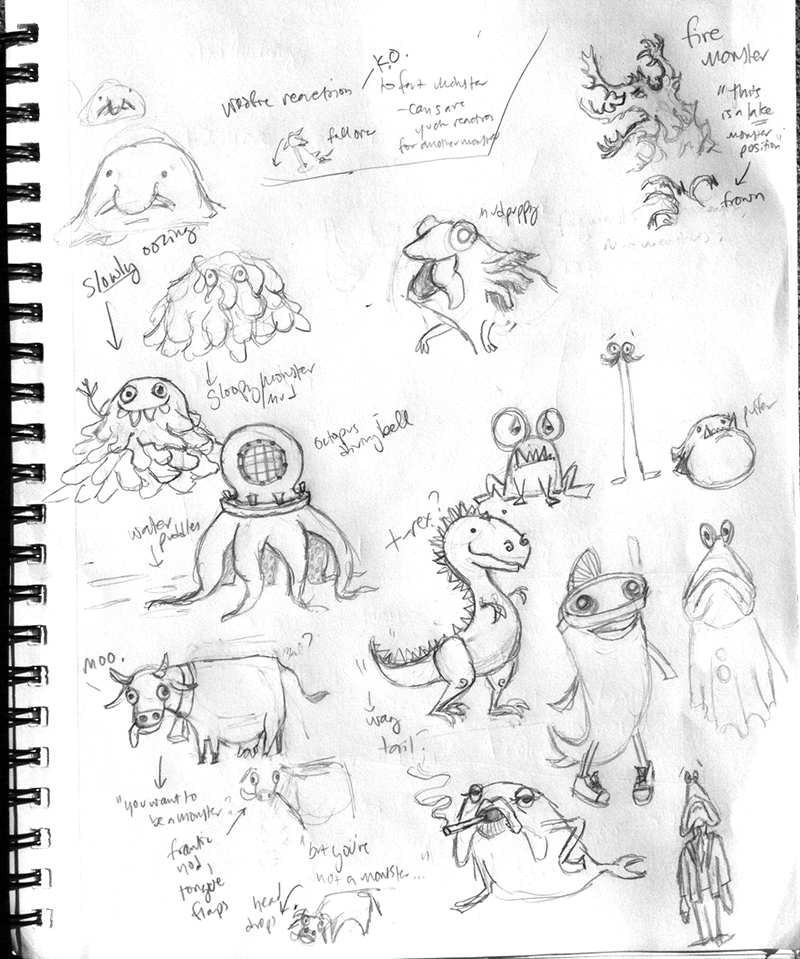
Working on an update of my animatic and I’m happy to say that an old idea has worked its way back into the film – a sort of quick montage of unsuccessful candidates. The new version of the animatic is coming soon, but in the meantime, here’s a sketch sheet of some new monster ideas:
effects: lighting a match
Posted on September 23, 2013
Things are a bit crazy around here, but classes are going pretty well so far this semester – a group directed study (where I’m working on my thesis) and a special effects class (all hand drawn). The first assignment for effects was to animate a matchstick lighting up – I was pretty happy with the result (and the process was fun, too!).
I’m keeping track of all video & image reference for my class on this pinterest page. Here’s a page of notes I took while studying ref & planning the animation:
Thesis update: Test scene in Flash
Posted on September 19, 2013
Last Spring I took a digital animation class and got to try out Flash for the first time. I have a few other assignments that I’ll be posting, but here’s a test scene for my thesis that I created as a final project for that course. I really like how Woofie, the dog, turned out. For Hazel, the main character, I think that the aesthetic of fully-hand drawn animation will work a lot better than the cut-out style lip-sync that I used here. I guess that’s why we do tests!
I’m pretty sure that I’ll be using TVPaint software for my thesis – it’s designed specifically for hand-drawn animation. However, I’d love to play around in Flash more using some characters designed specifically for the more puppet-like strengths of that program.
Head drawing class flashback 4: Wonky Self-Portrait
Posted on September 9, 2013
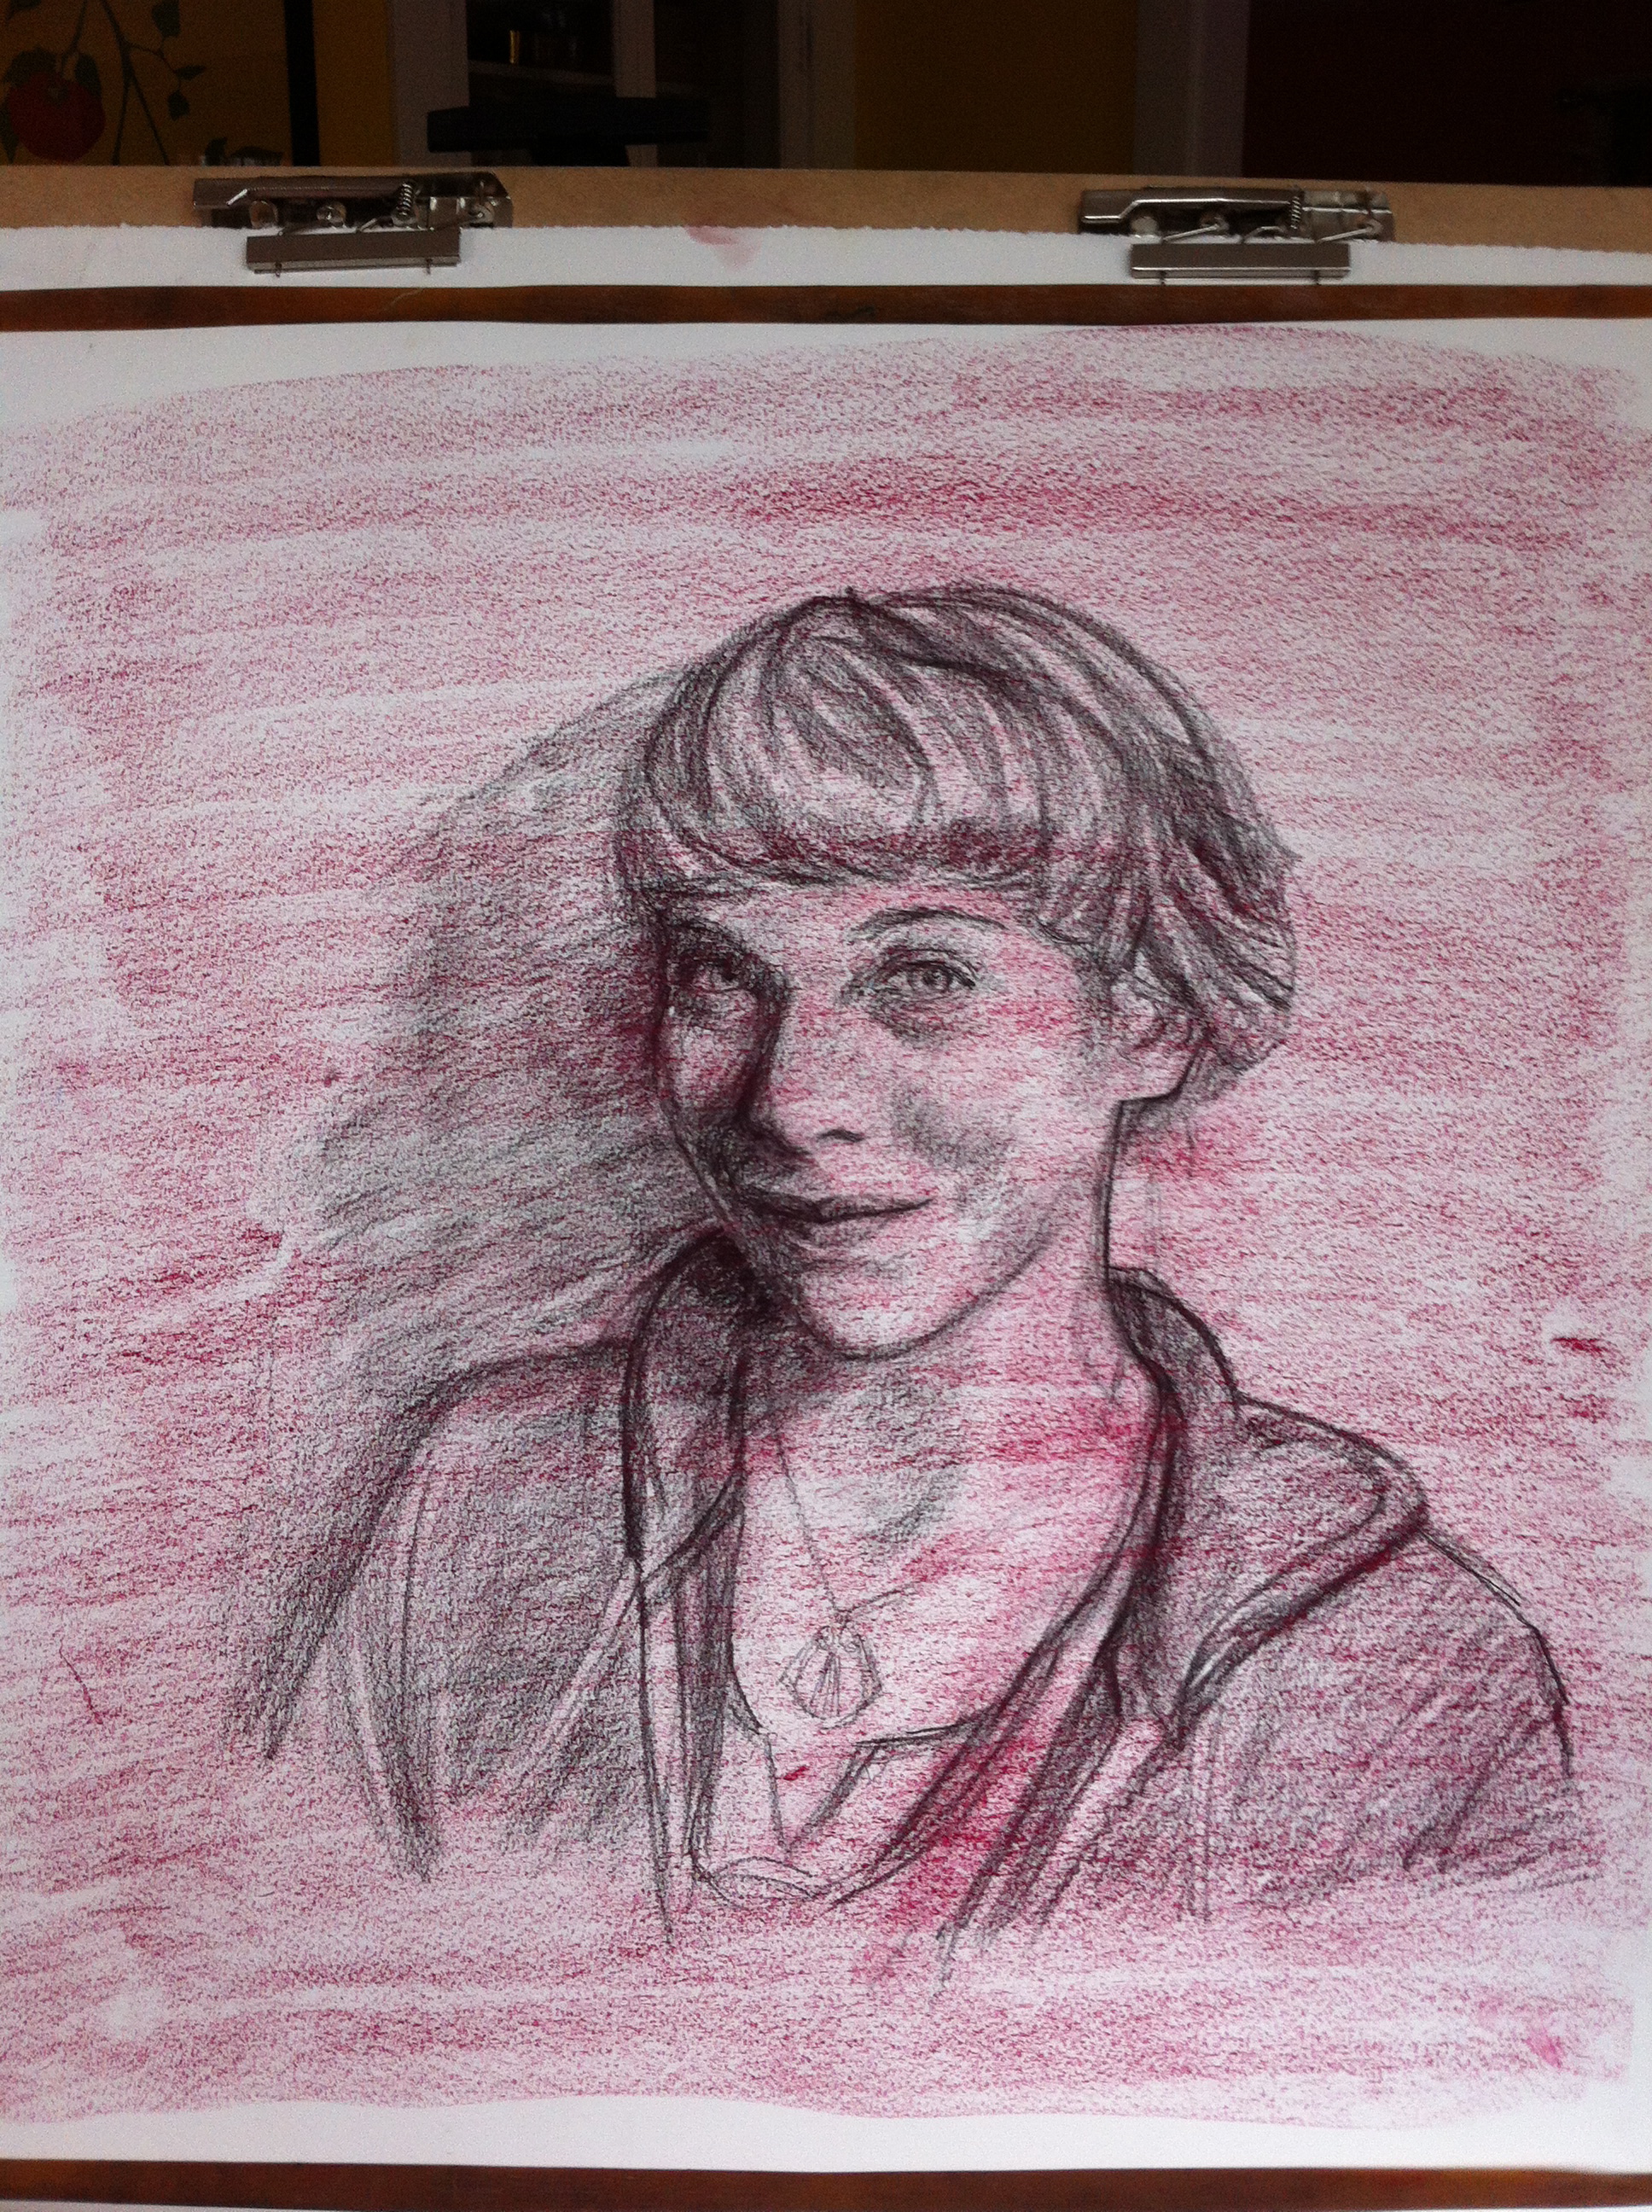
The assignment, of course, was meant to be a regular self portrait (not a semi-creepy weirdo version). I had super high hopes for it, as I’d been pretty happy with my other images throughout the semester and I’d done self-portraits before that had caught a likeness. Unfortunately, something went awry maybe 10 hours into the project… and no amount of layering on pastels could fix it. And of course, there was the ever-present problem of traditional mediums: no “undo” button. In any case, I followed the process outlined in “Head Drawing Class Flashback 1: “Girl with Dreadlocks”.
Started off ok – I think I caught a bit of a likeness here. Maybe a little wide… but I figured it could only get better with color.

Decided to go with a hot pink underlay. Here’s what it looked like when I first added pigment….
…and after I rubbed it in, with some additional reddish brown layers.

Here’s some more pigment added, with more of the shadows coming out.. and this is where I first noticed that the eyes are a little too far apart. Nothing that more pigment can’t fix, right?

Wrong. I just went crazy on that eye, and the eyebrow above it… who knows what happened there.
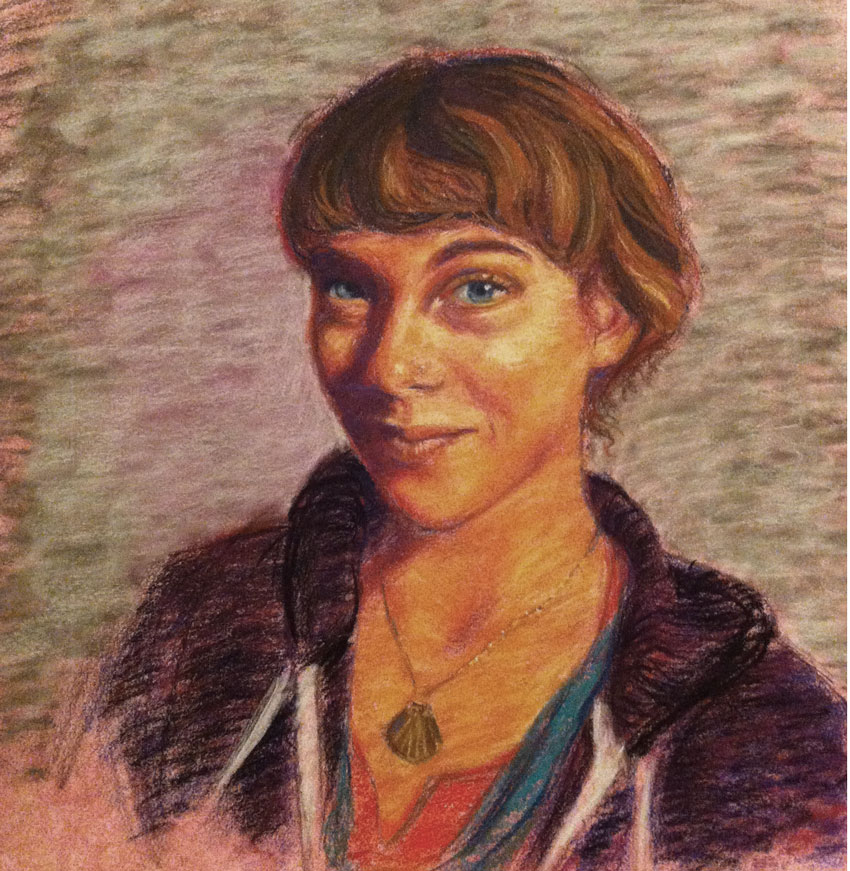
Ah well, better luck with the next 10-20 hour drawing!
Head drawing class flashback 3: “Man with Hat” (oil redux)
Posted on September 2, 2013
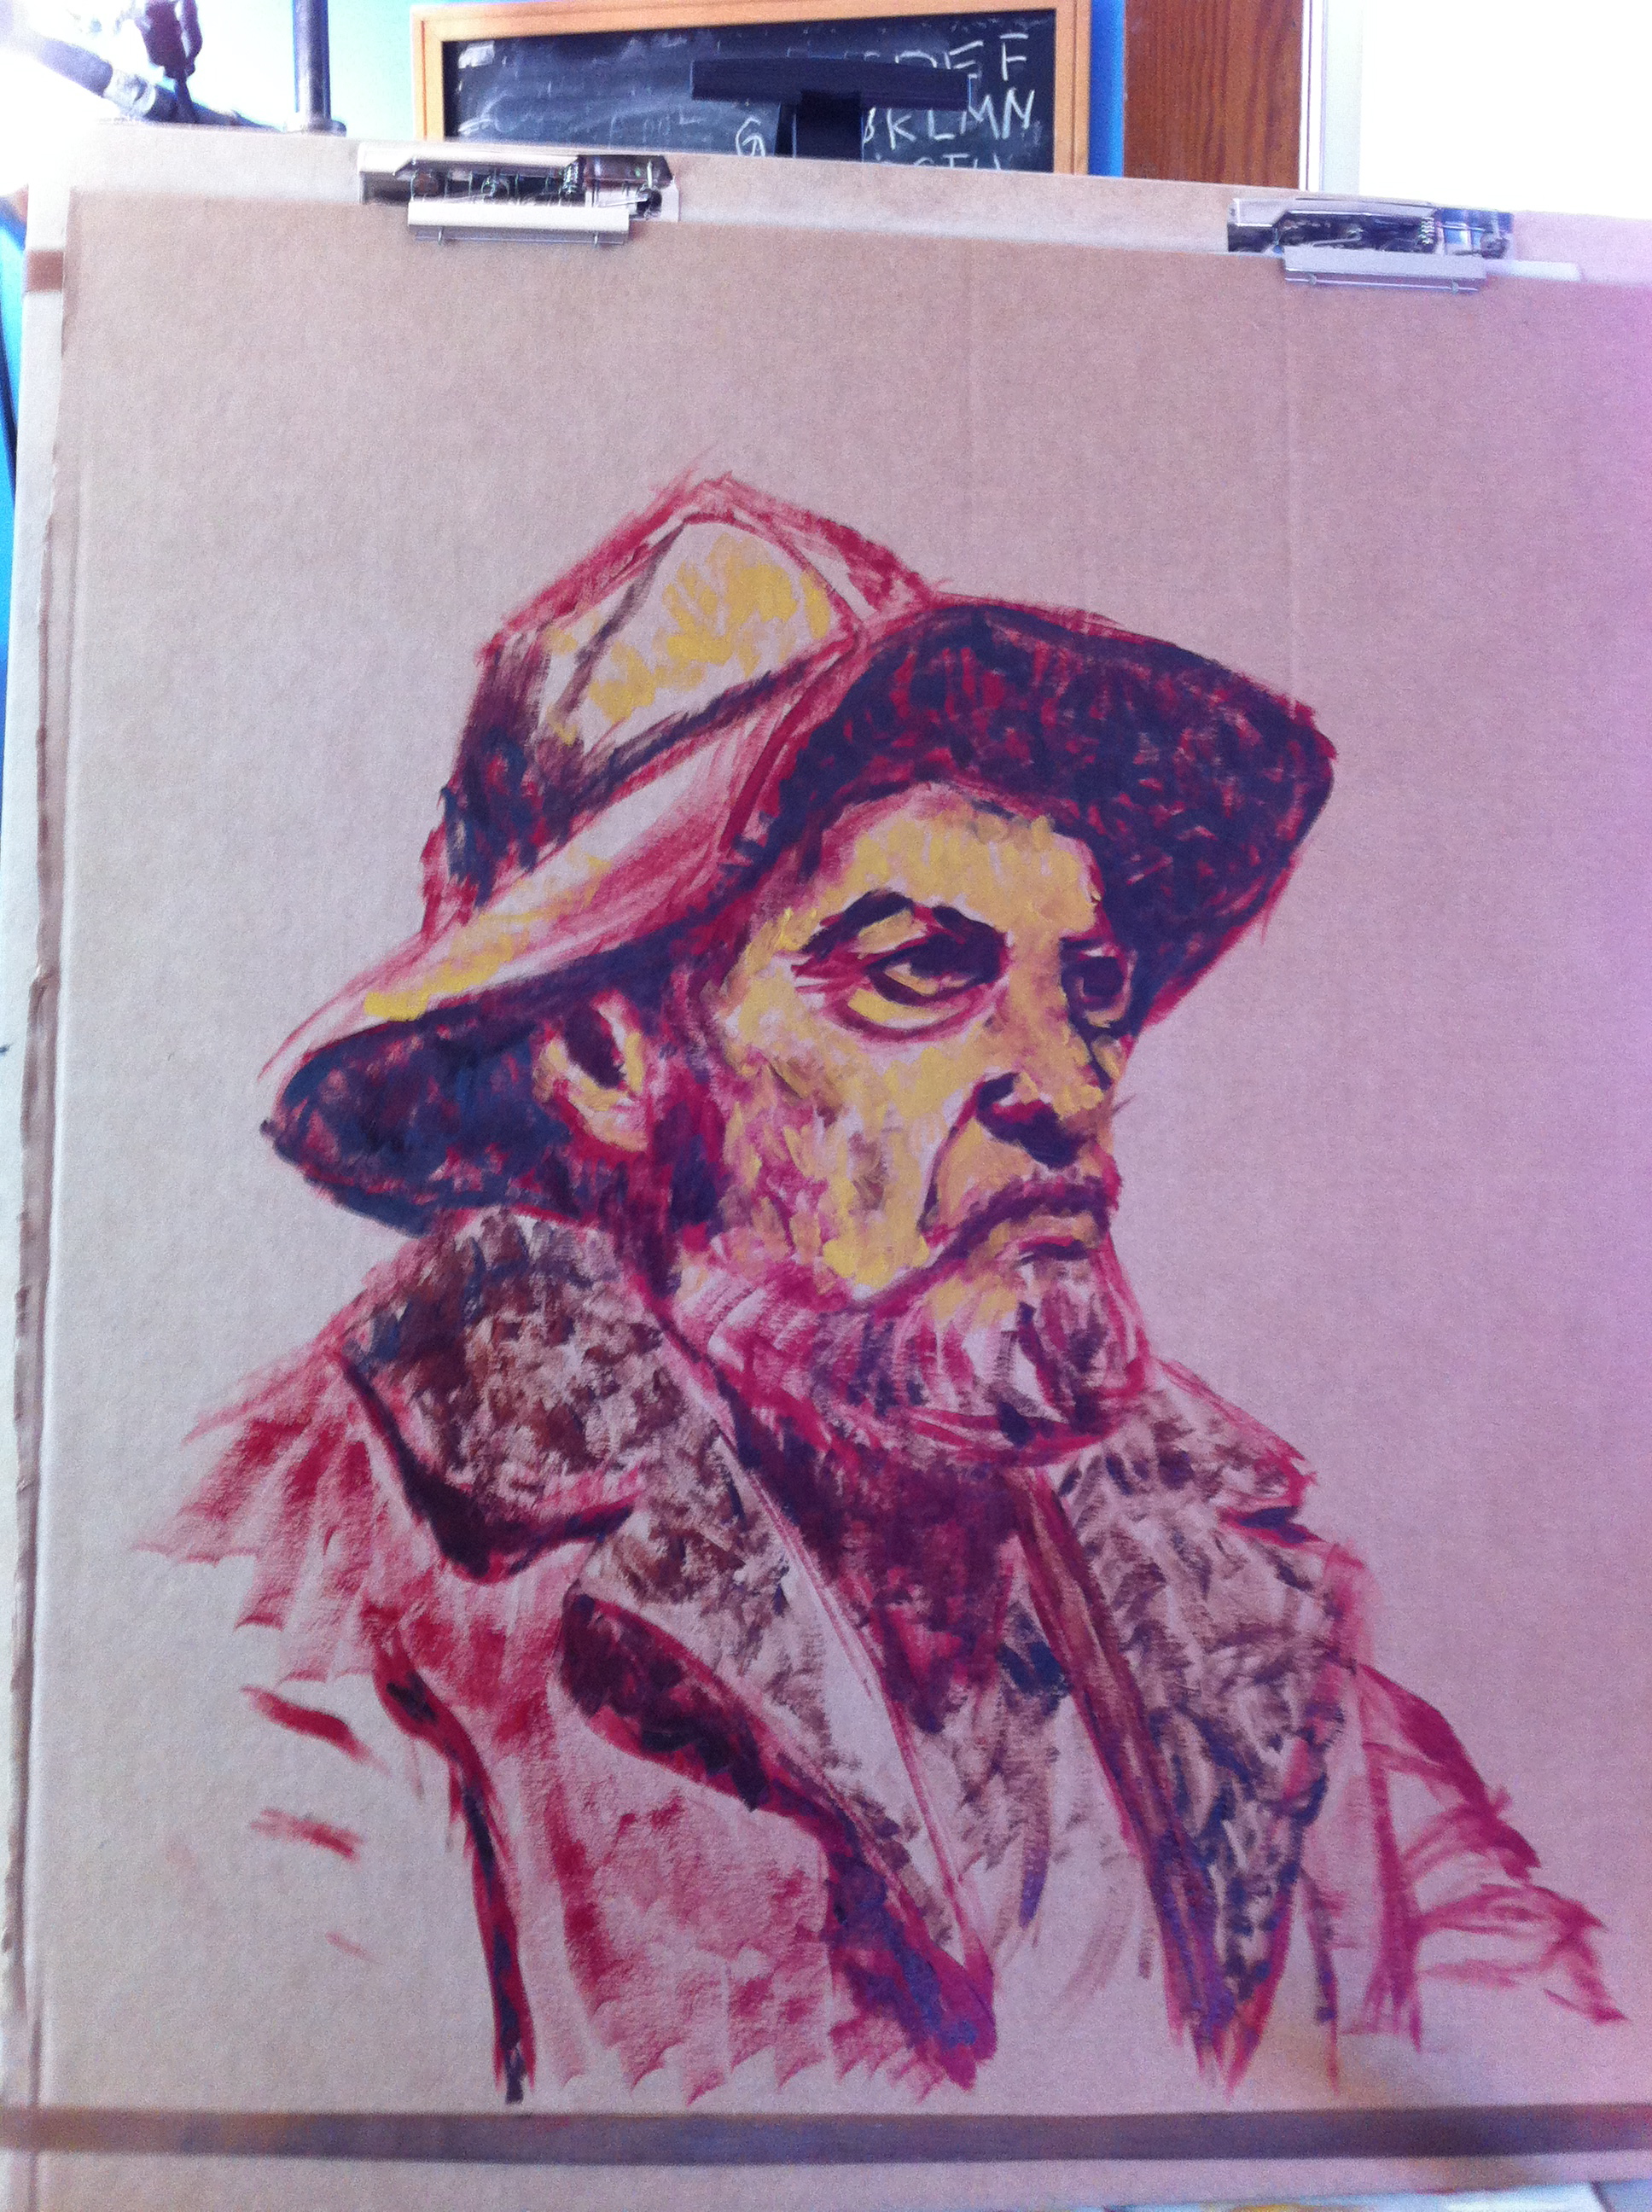
Remember the guy from last week’s post? Well, for another assignment in my head drawing class, we had to use another reference photo of him, but this time we had to “draw” with oil paints.
We were supposed to thin the paint out with turpentine, but I hated the smell so ended up using something else- mineral oil, I think? Anyway, the concept was to stroke the paint on and have it dry almost immediately, so that there was none of the blending that you’d usually get in an oil painting. The process sort of mimicked the method we were using for pastels – short, layered strokes that didn’t smear together, but ended up blending visually instead.
Just one process picture here – you can see that the underlayer colors are quite different. There’s no underdrawing at all – just started by laying in the paint.
…from the finished product:

I'm an illustrator and 2D animator who likes lots of stuff, including science, bright colors and figuring out how things work.
